How to draw a Thanksgiving turkey
Learn how to draw a cute Thanksgiving turkey of your very own.
You will need:
- Pencil
- Pen
- Eraser
- Paper
- Colored pencils or crayons
- Ruler (suggested)
Jeff's Tips & Ideas : Use lightly sketched pencil lines first for the structure. After, use a pen to draw in the final lines. When you're finished, erase the underlying pencil lines to reveal your drawing. Then - color it!
Let's start! Follow step by step our easy indications below !
STEP 1
Draw a simple framework, composed of basic shapes. Be sure to keep your penciled lines nice and light. Later, you can go over your structure with a dark, permanent pen or marker. The penciled lines will easily erase with a kneaded eraser when you're finished.

STEP 2
Here, we can repeat the shape of a circle three times, to bring forth the structure of a simple cartoon turkey.

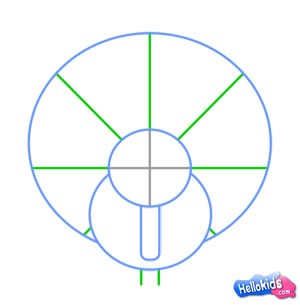
STEP 3
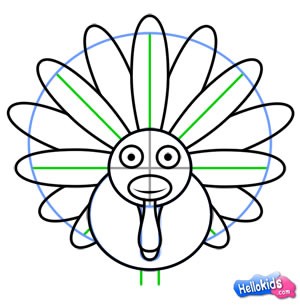
Just like a bicycle wheel, it's feathers can be marked off like spokes!
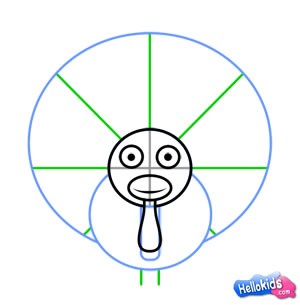
STEP 4
Draw the face.

STEP 5
Continue with the head and neck.
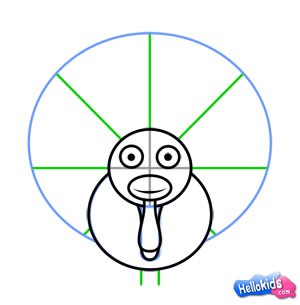
STEP 6
Now sketch in the body.
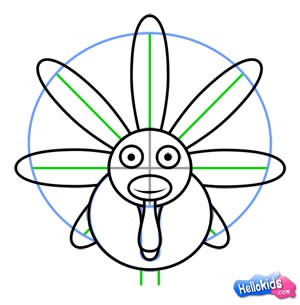
STEP 7
And just like the petals of flower - draw in the first set of feathers.
STEP 8
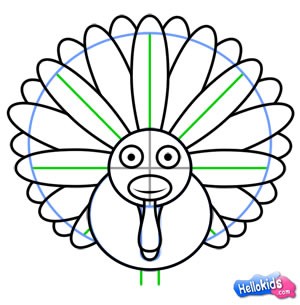
Next layer!
STEP 9
And one more...
STEP 10
And minus the framework... + the feet - and your turkey's just about done!
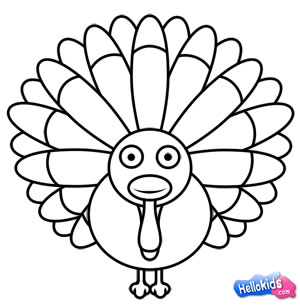
Color it, and you've got a cute decoration for Thanksgiving. Nice work!
Here is a drawing of a turkey made by Jeff Scarterfield ! For more lessons by Jeff, check out his website at How-to-Draw-Cartoons-Online.com.
Happy Drawing! :-)